Local Image Layer
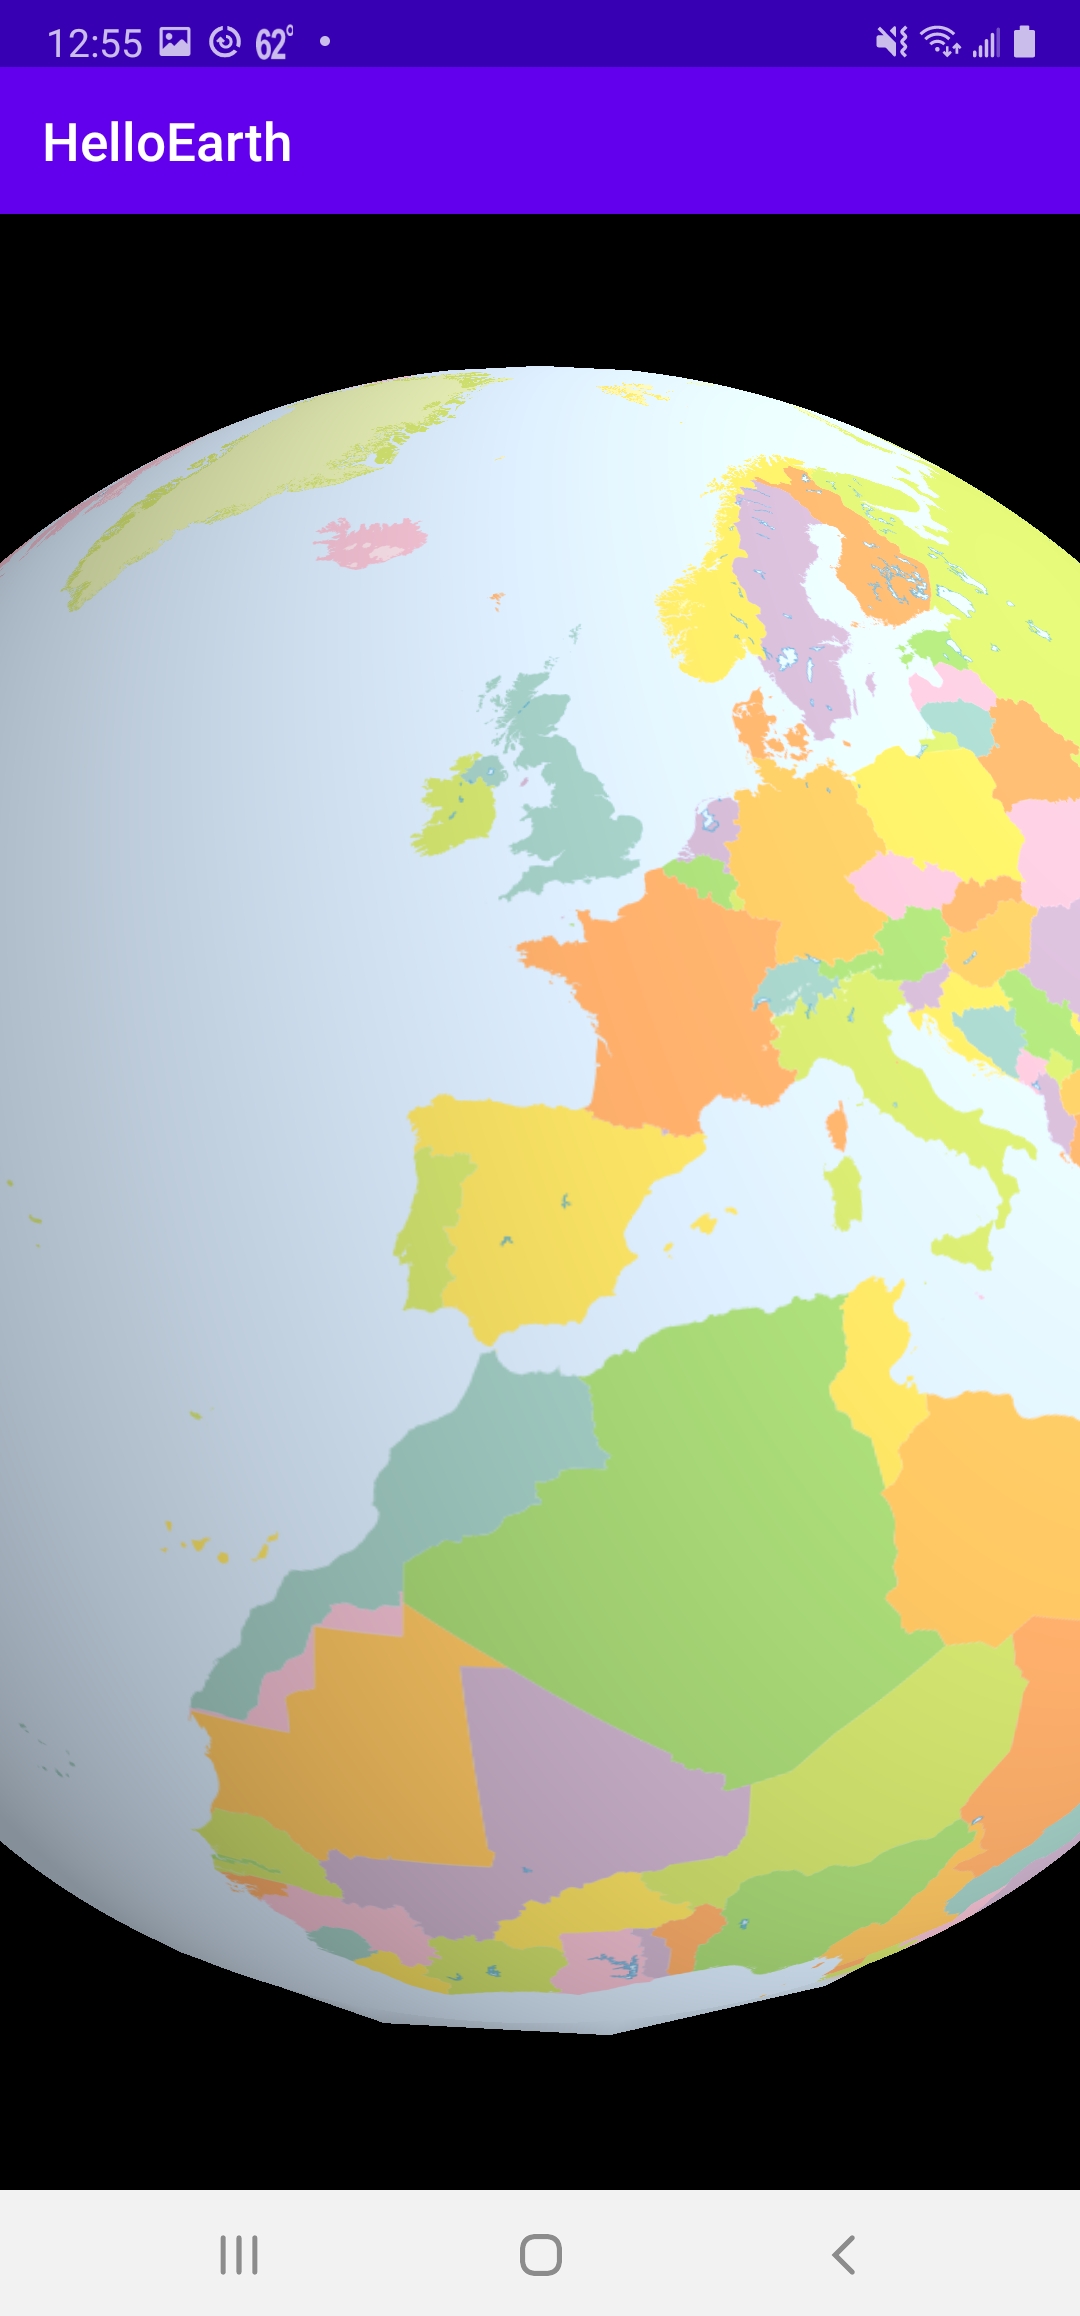
Now we’re going to add a local image layer to your map. You can have map image tiles stored on your device using the SQLite based MBTiles format. We’re going to show you how to load an MBTiles file from your device and display these tiles.
Add MBTiles to Application
For the sake of simplicity, we’re going to manually add an MBTiles file to your application. For a production app, you’ll want to explore various means of getting an MBTiles file onto the device automatically, but that is out of scope from this basic tutorial.
First, download our sample Geography Class MBTiles file to your computer and copy it to the following directory under the HelloGlobe application (you will need to create the last two directories):
src/main/assets/mbtiles/geography-class_medres.mbtiles
Create a New Fragment
Next, we’ll create yet another fragment which loads the tiles from the MBTiles file. Create a new class, LocalGlobeFragment with the following, or place LocalGlobeFragment.java in the appropriate directory.
package com.mousebirdconsulting.helloearth;

import android.content.Context;
import android.content.ContextWrapper;
import android.util.Log;

import com.mousebird.maply.MBTileFetcher;
import com.mousebird.maply.QuadImageLoader;
import com.mousebird.maply.SamplingParams;
import com.mousebird.maply.SphericalMercatorCoordSystem;

import java.io.File;
import java.io.FileOutputStream;
import java.io.IOException;
import java.io.InputStream;
import java.io.OutputStream;

public class LocalGlobeFragment extends HelloGlobeFragment {

    @Override
    protected void controlHasStarted() {

        File mbTileFile;
        try {
            mbTileFile = getMBTileAsset("geography-class_medres.mbtiles");
        } catch (IOException e) {
            Log.d("HelloEarth", e.getMessage());
            return;
        }

        MBTileFetcher mbTileFetcher = new MBTileFetcher(mbTileFile);

        SamplingParams params = new SamplingParams();
        params.setCoordSystem(new SphericalMercatorCoordSystem());
        params.setCoverPoles(true);
        params.setEdgeMatching(true);
        params.setSingleLevel(true);
        params.setMinZoom(0);
        params.setMaxZoom(mbTileFetcher.maxZoom);

        QuadImageLoader loader = new QuadImageLoader(params,mbTileFetcher.getTileInfo(), baseControl);
        loader.setTileFetcher(mbTileFetcher);

        double latitude = 40.5023056 * Math.PI / 180;
        double longitude = -3.6704803 * Math.PI / 180;
        double zoom_earth_radius = 0.5;
        globeControl.animatePositionGeo(longitude, latitude, zoom_earth_radius, 1.0);
    }

    private File getMBTileAsset(String name) throws IOException {
        ContextWrapper wrapper = new ContextWrapper(getActivity());
        File mbTilesDirectory =  wrapper.getDir("mbtiles", Context.MODE_PRIVATE);

        InputStream is = getActivity().getAssets().open("mbtiles/" + name);
        File of = new File(mbTilesDirectory, name);

        if (!of.exists()) {
            OutputStream os = new FileOutputStream(of);
            byte[] mBuffer = new byte[4096];
            int length;
            while ((length = is.read(mBuffer)) > 0) {
                os.write(mBuffer, 0, length);
            }
            os.flush();
            os.close();
            is.close();
        }

        return of;
    }
}
We can’t use the MBTiles from an InputStream, so there’s a little bit of boilerplate here to copy the data to a file in the application’s data directory.
Use the New Fragment
Once again update your main layout, activity_main.xml, to reference the new fragment:
<?xml version="1.0" encoding="utf-8"?>
<androidx.constraintlayout.widget.ConstraintLayout xmlns:android="http://schemas.android.com/apk/res/android"
    xmlns:app="http://schemas.android.com/apk/res-auto"
    xmlns:tools="http://schemas.android.com/tools"
    android:id="@+id/relativeLayout"
    android:layout_width="match_parent"
    android:layout_height="match_parent"
    tools:context=".MainActivity">

    <fragment
        android:id="@+id/fragment"
        android:name="com.mousebirdconsulting.helloearth.LocalGlobeFragment"
        android:layout_width="match_parent"
        android:layout_height="match_parent"
        app:layout_constraintBottom_toTopOf="parent"
        app:layout_constraintEnd_toStartOf="parent"
        app:layout_constraintStart_toStartOf="parent"
        app:layout_constraintTop_toTopOf="parent" />

</androidx.constraintlayout.widget.ConstraintLayout>
That’s it!
Now you can see a local tile source being drawn on your globe.

Tutorial by Nicholas Hallahan, Steve Gifford, Tim Sylvester.