Source Distribution
With open source projects, you expect to get all the source code. Sure enough, that’s what we do with WhirlyGlobe-Maply. All of it is available on github, with a long history and references to other projects we use.
So the most open-source-y way to set yourself up is with submodules. It’s also the slowest, but we like it.
Setting Up With Submodules
Open a Terminal window, and change to the root directory of your project. That directory should contain HelloEarth.xcodeproj.
Create a libs subdirectory and add WG-Maply in that path.
% mkdir libs
% git submodule add https://github.com/mousebird/WhirlyGlobe.git libs/WhirlyGlobeMaply
Next, we need to initialize and update WG-Maply’s dependencies.
We’ve cut way back on these in recent years, but this part may take a while. WG-Maply has a lot of data in its Resources submodule.
% cd libs/WhirlyGlobeMaply
% git submodule init
% git submodule updateOnce it’s done we’re done with Terminal. Close that window and open the HelloEarth project in Xcode.
Adding the Dependencies
Now you need to add the WG-Maply library to the project.
Select the HelloEarth project, then go to Build Phases, and expand Link Binary With Libraries.
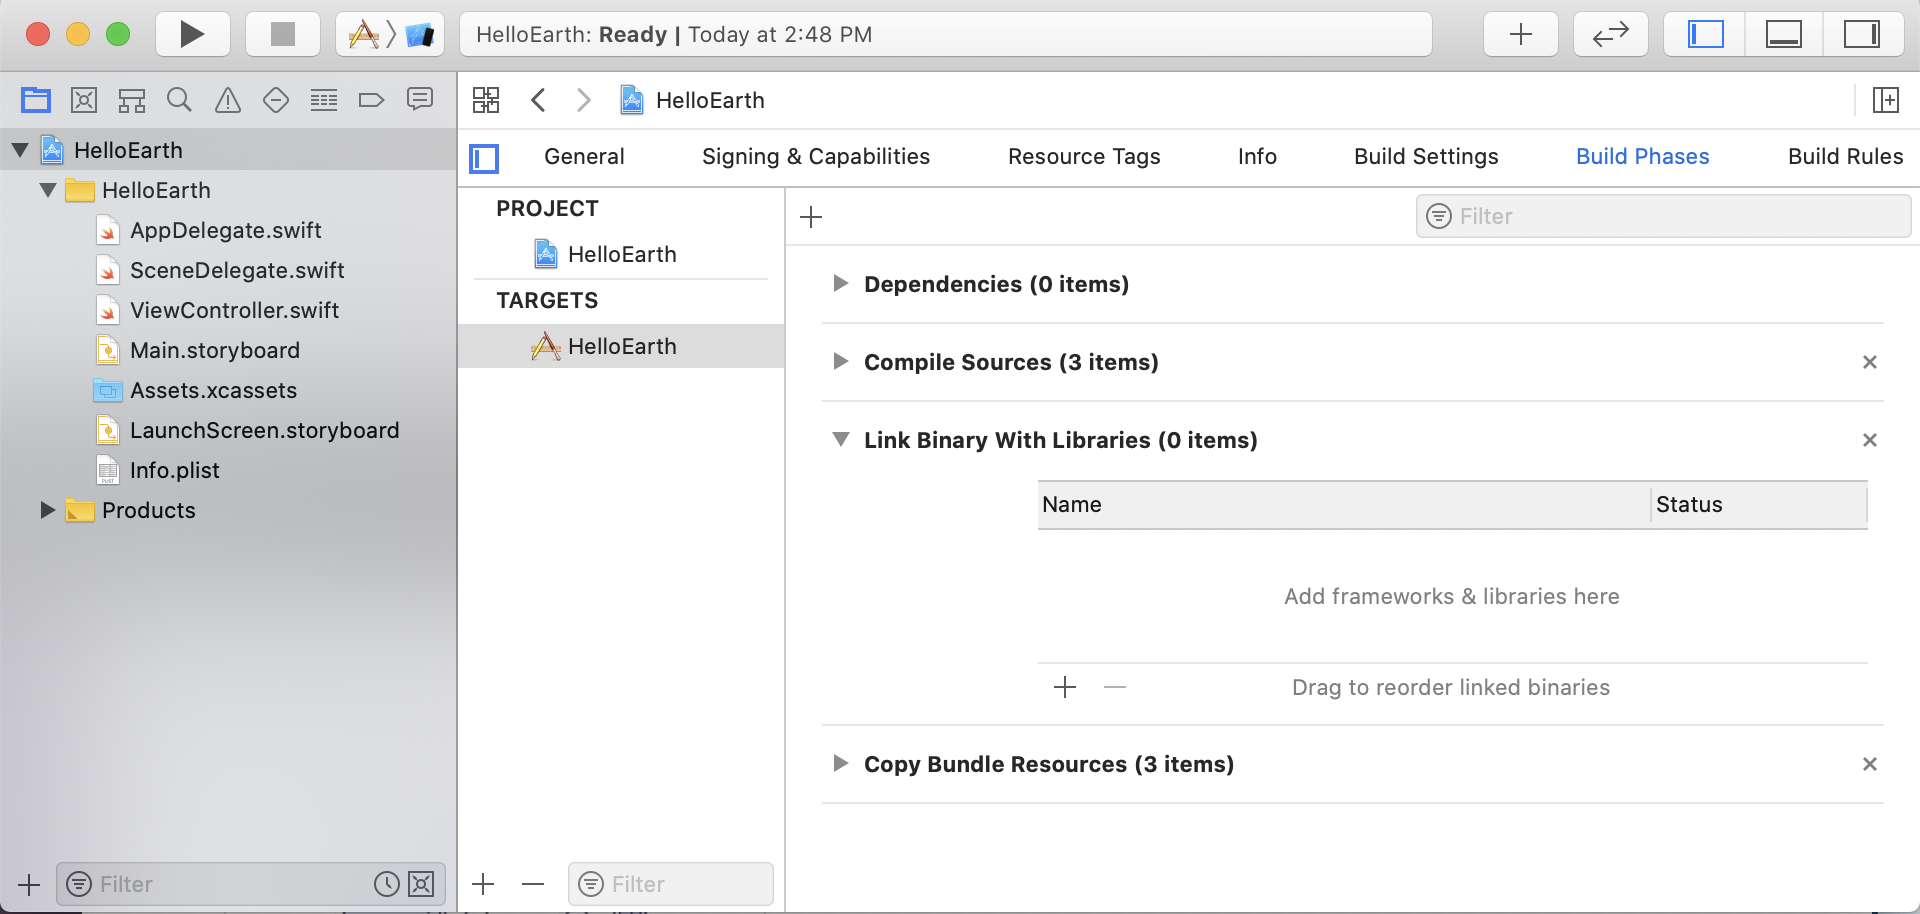
Click the + at the bottom, and then Add Files from the Add Other dropdown.
Navigate to the libs/WhirlyGlobeMaply/ios/library/WhirlyGlobe-MaplyComponent/ directory, and select WhirlyGlobeMaplyComponent.xcodeproj. Click Open.
Click + again, and you will see a new option: WhirlyGlobeMaplyComponent.framework. Select that and click Add.
WG-Maply depends on a number of standard libraries as well, but you shouldn’t need to add them. It should pick those up. If it doesn’t, here they are.
+ CoreLocation
+ libc++
+ libz
+ libxml2
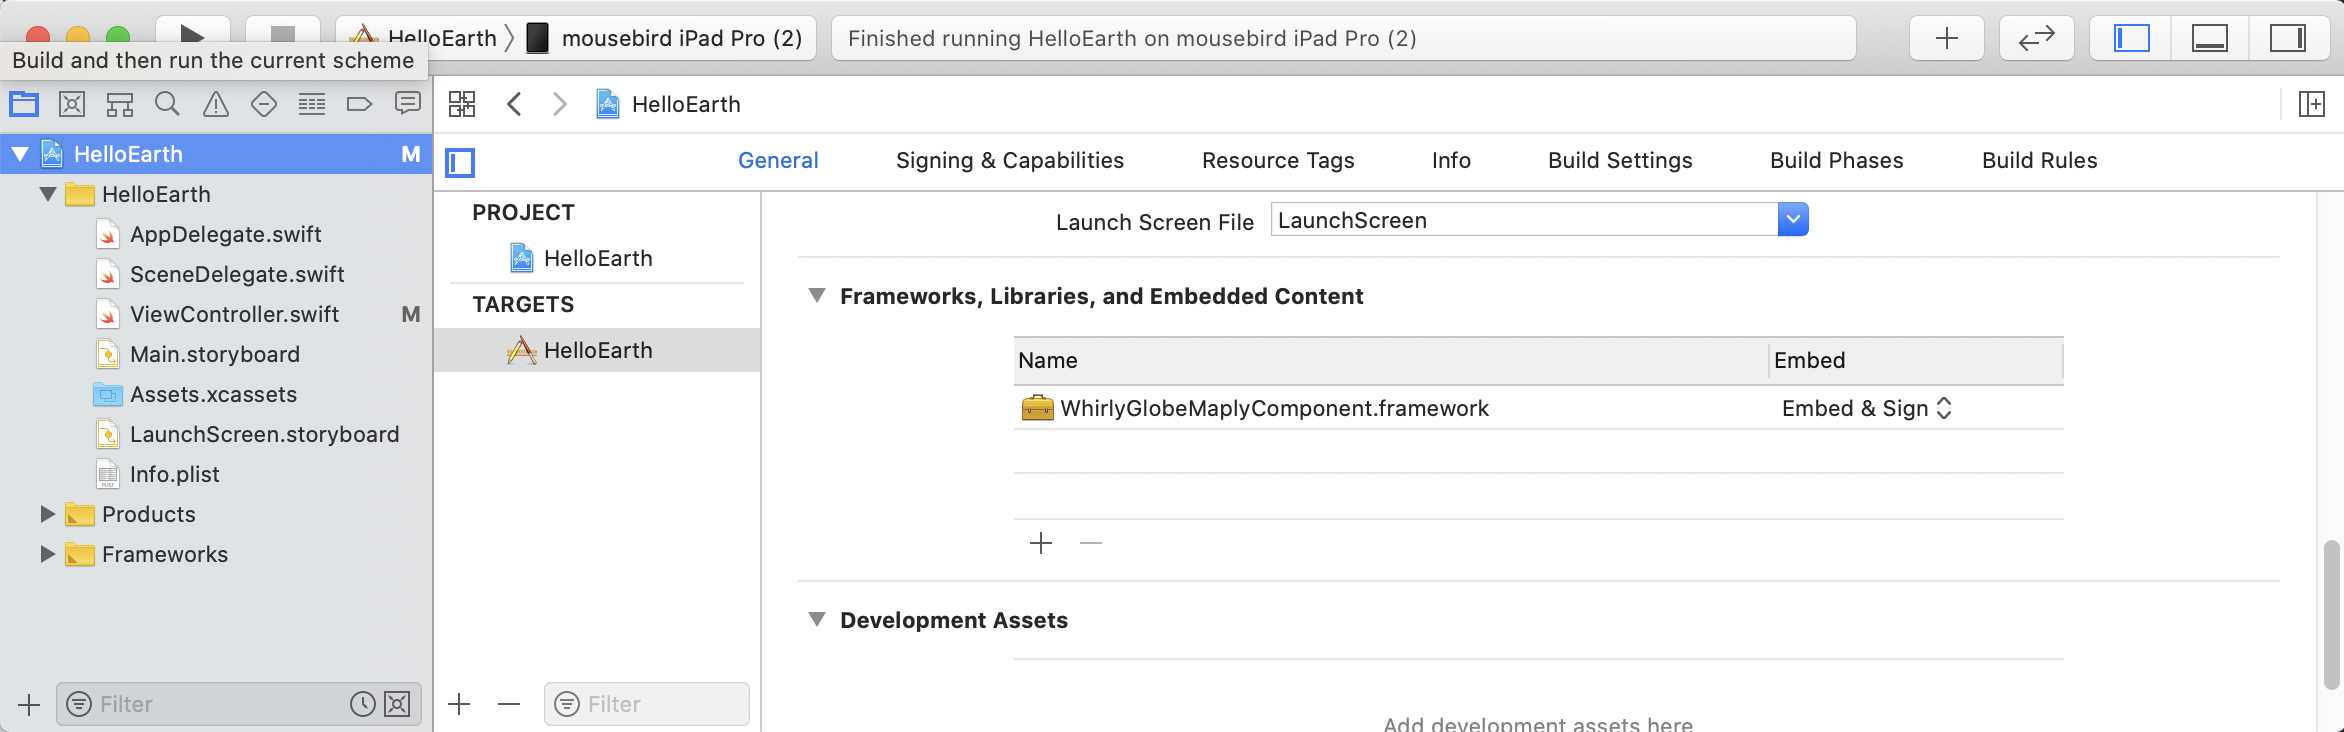
+ libsqlite3We’ll also need to embed the WG-Maply framework in any app bundle. So go to the General tab for the project and select Embed & Sign for the WhirlyGlobeMaplyComponent.framework entry under Frameworks, Libraries, and Embedded Content.
Next, we need to add the path to the WG-Maply headers so Xcode knows where to find the includes. To do this, go to Build Settings and look for Header Search Paths.
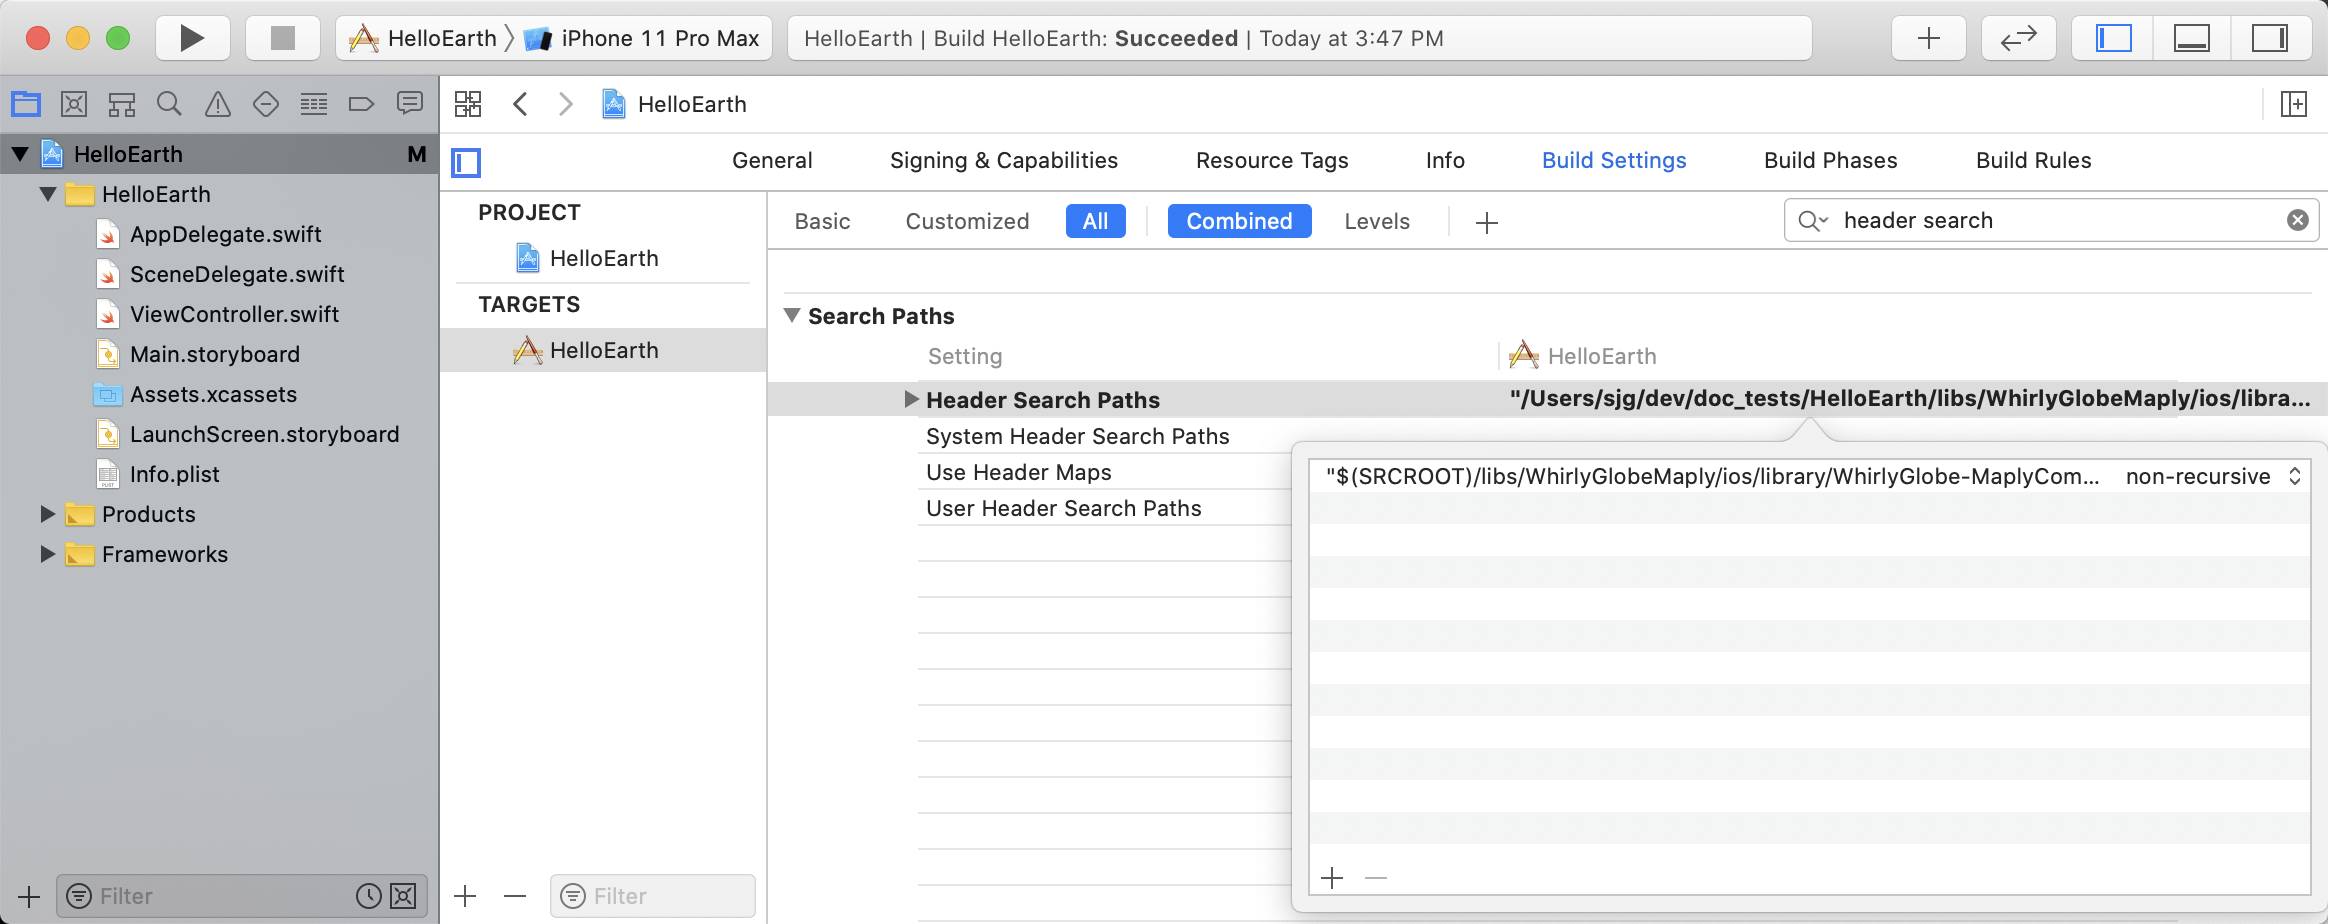
Click + and add the following path.
"$(SRCROOT)/libs/WhirlyGlobeMaply/ios/library/WhirlyGlobe-MaplyComponent/include/"Last, we’ll need to pull in a bridging header for Swift. If you’re not using Swift you don’t need to do this.
Go to Build Settings and look for “Objective-C Bridging Header”.
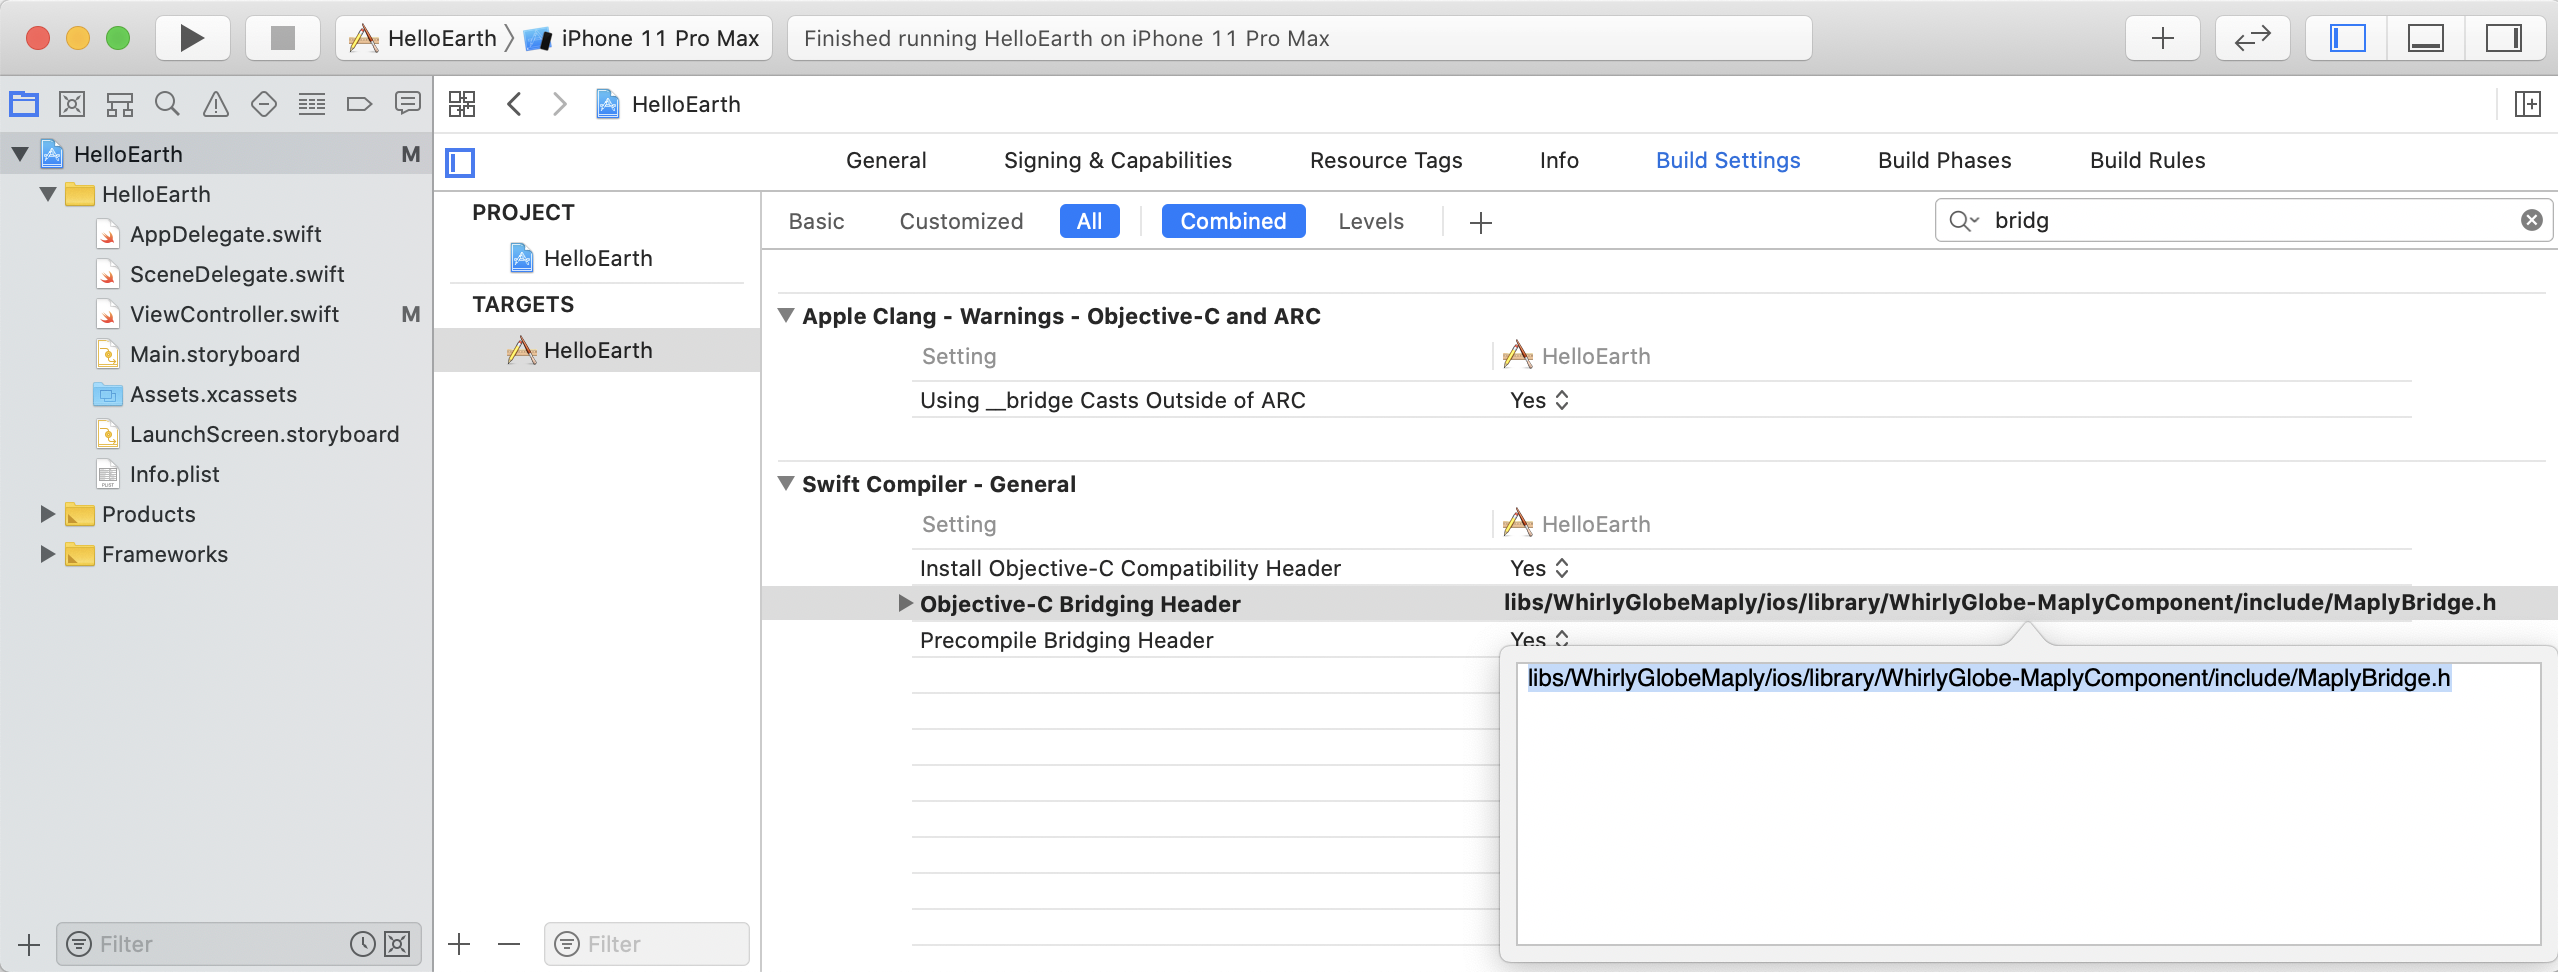
Type there the following path:
libs/WhirlyGlobeMaply/ios/library/WhirlyGlobe-MaplyComponent/include/MaplyBridge.hAt this point, your project should be set up properly and you’ll be linked to the github repo for updates.
Next up, let’s look at something!