Your First Globe
You’ll need to start with the HelloEarth app you wrote earlier. Go do that if you haven’t already.
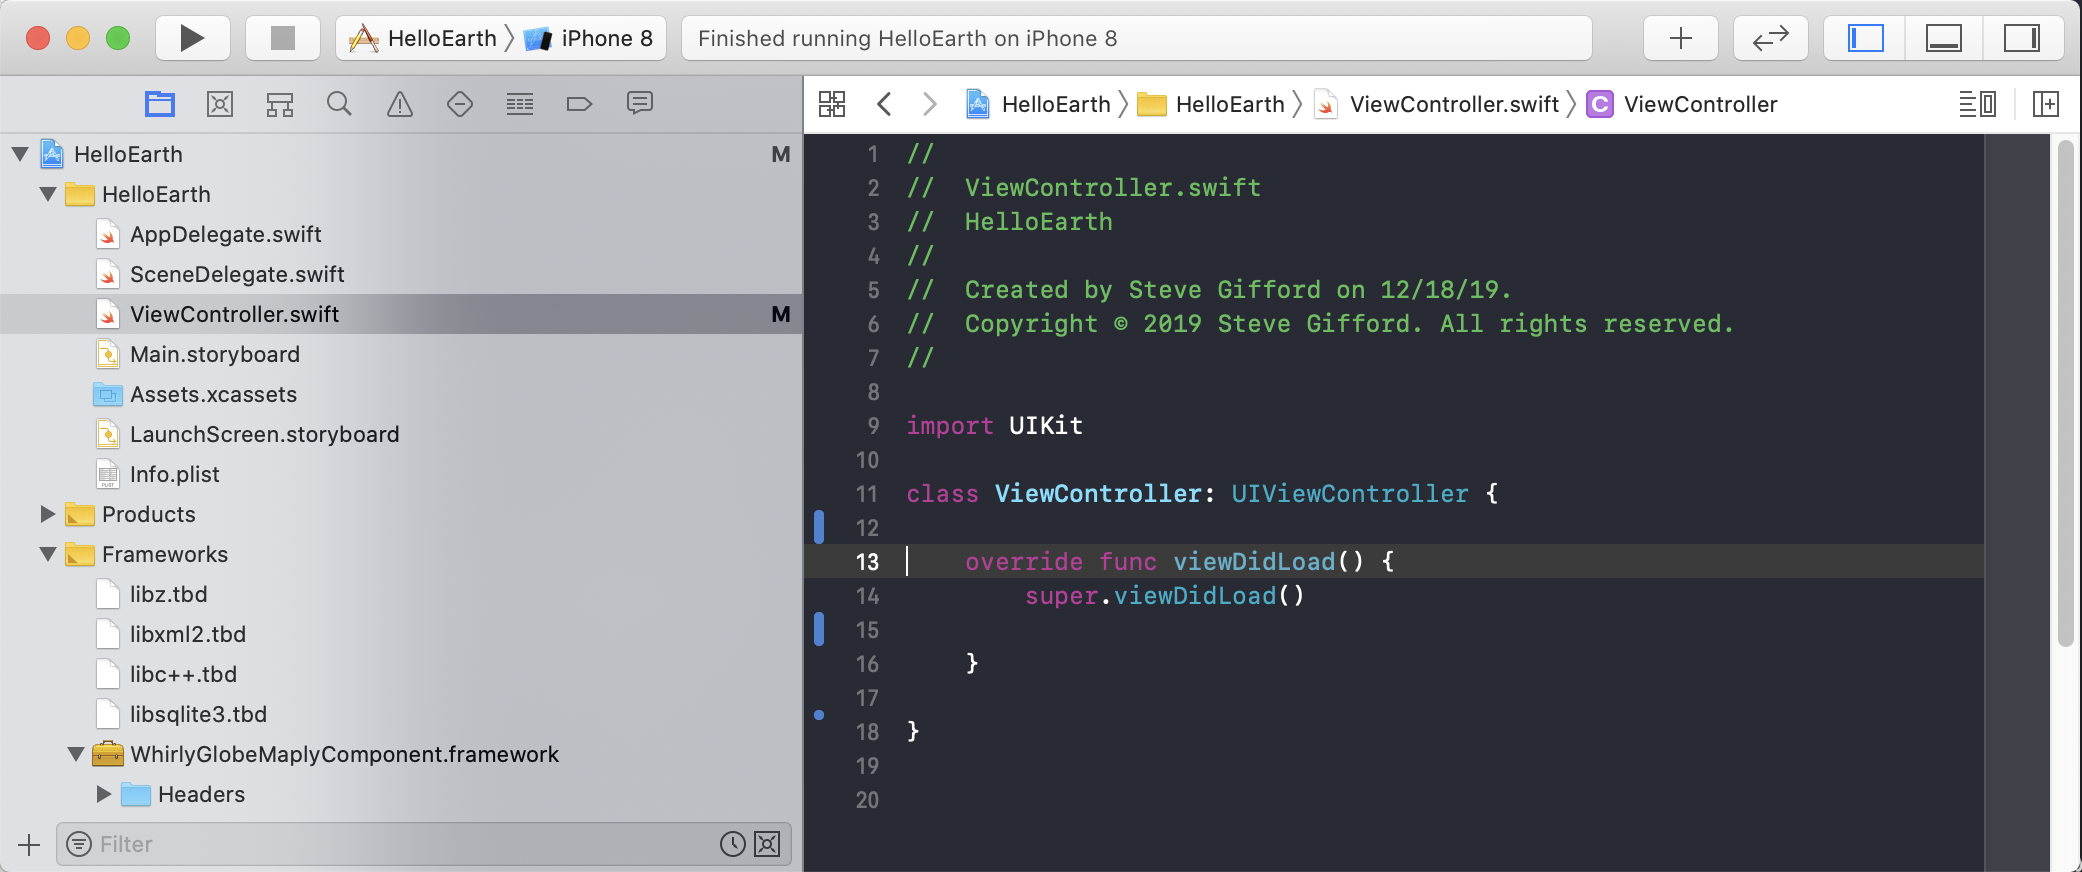
Open HelloEarth in Xcode. The template we used earlier should have a ViewController.swift.

If you’re using Objective-C, we’ll need to import the headers. Open ViewController.h and and this to the list of imports.
#import <WhirlyGlobeComponent.h>If you’re using Swift, you’re already set. The bridging header pulls in what you need.
Now let’s actually add a WhirlyGlobeViewController. We’re going to keep it very simple at first – we just want to verify the project setup before getting much further along.
For Objective-C, open ViewController.m, and find the @implementation line. For Swift, open your ViewController.swift file. Modify it like so.
-
class ViewController : UIViewController { private var theViewC: WhirlyGlobeViewController? ... } -
@implementation ViewController
{
    WhirlyGlobeViewController *theViewC;
}
Now we’ve got a private WhirlyGlobeViewController. Let’s set it up but leave it empty, and add it to our view. Modify the viewDidLoad method to read as follows.
-
override func viewDidLoad() { super.viewDidLoad() // Create an empty globe and add it to the view theViewC = WhirlyGlobeViewController() self.view.addSubview(theViewC!.view) theViewC!.view.frame = self.view.bounds addChild(theViewC!) } -
  (void)viewDidLoad
  {
    [super viewDidLoad];

    // Create an empty globe and add it to the view
    theViewC = [[WhirlyGlobeViewController alloc] init];
    [self.view addSubview:theViewC.view];
    theViewC.view.frame = self.view.bounds;
    [self addChildViewController:theViewC];
  }
That’s it! Pick a real or simulated iOS device and run the app. If you get a blank screen (and no build errors), you win. At this point you can be certain that your project setup is correct, and you can proceed to add WhirlyGlobe-Maply features with confidence.
If you encounter build errors, or something other than a black screen comes up on the device review the above steps, and ensure that you have done everything correctly.
Next up, adding an image layer to your globe.