Your First Globe or Map
Globe or Map
You can make a 3D globe or a 2D map equally well in WhirlyGlobe-Maply. Hence the name. Most of the objects are the same and, after a bit of setup, you use them almost identically.
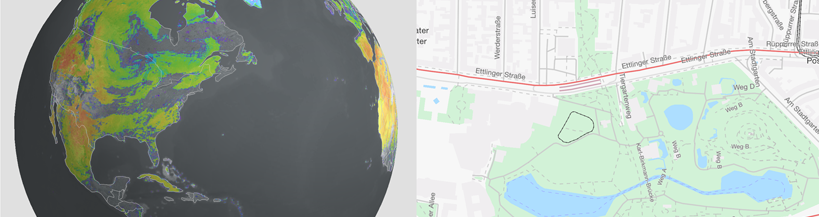
If you want a rotating globe, you’ll want a MapDisplayType.Globe. If you want a slippy map, you’ll want a MapDisplayType.Map enum in your GlobeMapFragment. We’ll go into greater detail about this setting later in the tutorial.
Add Internet Permission
We’ll need to be able to load tile images from the internet, which means the application will need to request the internet permission. Add the following uses-permission element to the manifest section of app/manifests/AppManifest.xml, as well as the android:usesCleartextTraffic="true" attribute to allow fetching data from public sources with no encryption:
<?xml version="1.0" encoding="utf-8"?>
<manifest xmlns:android="http://schemas.android.com/apk/res/android"
    package="com.mousebirdconsulting.helloearth">

    <application
        android:allowBackup="true"
        android:icon="@mipmap/ic_launcher"
        android:label="@string/app_name"
        android:roundIcon="@mipmap/ic_launcher_round"
        android:supportsRtl="true"
        android:theme="@style/AppTheme"
        android:usesCleartextTraffic="true">
        <activity android:name=".MainActivity">
            <intent-filter>
                <action android:name="android.intent.action.MAIN" />

                <category android:name="android.intent.category.LAUNCHER" />
            </intent-filter>
        </activity>
    </application>
    <uses-permission android:name="android.permission.INTERNET"/>
</manifest>
Add Globe Map Fragment
Create a new Java class called HelloGlobeFragment in HelloEarth with the following contents, or download the HelloGlobeFragment.java file and place it in the appropriate directory, e.g., HelloEarth/app/src/main/java/com/mousebirdconsulting/helloearth.
package com.mousebirdconsulting.helloearth;

import android.os.Bundle;
import android.view.LayoutInflater;
import android.view.View;
import android.view.ViewGroup;

import com.mousebird.maply.GlobeMapFragment;
import com.mousebird.maply.QuadImageLoader;
import com.mousebird.maply.RemoteTileInfoNew;
import com.mousebird.maply.RenderController;
import com.mousebird.maply.SamplingParams;
import com.mousebird.maply.SphericalMercatorCoordSystem;

import java.io.File;

public class HelloGlobeFragment extends GlobeMapFragment {

    protected MapDisplayType chooseDisplayType() {
        return MapDisplayType.Globe;
    }

    @Override
    public View onCreateView(LayoutInflater inflater, ViewGroup container,
                             Bundle inState) {
        super.onCreateView(inflater, container, inState);

        // Do app specific setup logic.

        return baseControl.getContentView();
    }

    @Override
    protected void controlHasStarted() {
        // Set up the local cache directory
        String cacheDirName = "stamen_watercolor6";
        File cacheDir = new File(getActivity().getCacheDir(), cacheDirName);
        cacheDir.mkdir();

        // Set up access to the tile images
        RemoteTileInfoNew tileInfo =
            new RemoteTileInfoNew("http://tile.stamen.com/watercolor/{z}/{x}/{y}.png",0, 18);
        tileInfo.cacheDir = cacheDir;

        // Set up the globe parameters
        SamplingParams params = new SamplingParams();
        params.setCoordSystem(new SphericalMercatorCoordSystem());
        params.setCoverPoles(true);
        params.setEdgeMatching(true);
        params.setMinZoom(tileInfo.minZoom);
        params.setMaxZoom(tileInfo.maxZoom);
        params.setSingleLevel(true);

        // Set up an image loader, tying all the previous together.
        QuadImageLoader loader = new QuadImageLoader(params, tileInfo, baseControl);
        loader.setImageFormat(RenderController.ImageFormat.MaplyImageUShort565);

        // Go to a specific location with animation
        //
        // `globeControl` is the controller when using MapDisplayType.Globe
        // `mapControl` is the controller when using MapDisplayType.Map
        // `baseControl` refers to whichever of them is used.
        double latitude = 40.5023056 * Math.PI / 180;
        double longitude = -3.6704803 * Math.PI / 180;
        double zoom_earth_radius = 0.5;
        globeControl.animatePositionGeo(longitude, latitude, zoom_earth_radius, 1.0);
    }
}
Include Fragment in the Main Activity Layout
Open app/res/layout/activity_main.xml and select the “Code” view. Replace the TextView with the fragment element as shown below.
activity_main.xml
<?xml version="1.0" encoding="utf-8"?>
<androidx.constraintlayout.widget.ConstraintLayout xmlns:android="http://schemas.android.com/apk/res/android"
    xmlns:app="http://schemas.android.com/apk/res-auto"
    xmlns:tools="http://schemas.android.com/tools"
    android:id="@+id/relativeLayout"
    android:layout_width="match_parent"
    android:layout_height="match_parent"
    tools:context=".MainActivity">

    <fragment
        android:id="@+id/fragment"
        android:name="com.mousebirdconsulting.helloearth.HelloGlobeFragment"
        android:layout_width="match_parent"
        android:layout_height="match_parent"
        app:layout_constraintBottom_toTopOf="parent"
        app:layout_constraintEnd_toStartOf="parent"
        app:layout_constraintStart_toStartOf="parent"
        app:layout_constraintTop_toTopOf="parent" />

</androidx.constraintlayout.widget.ConstraintLayout>
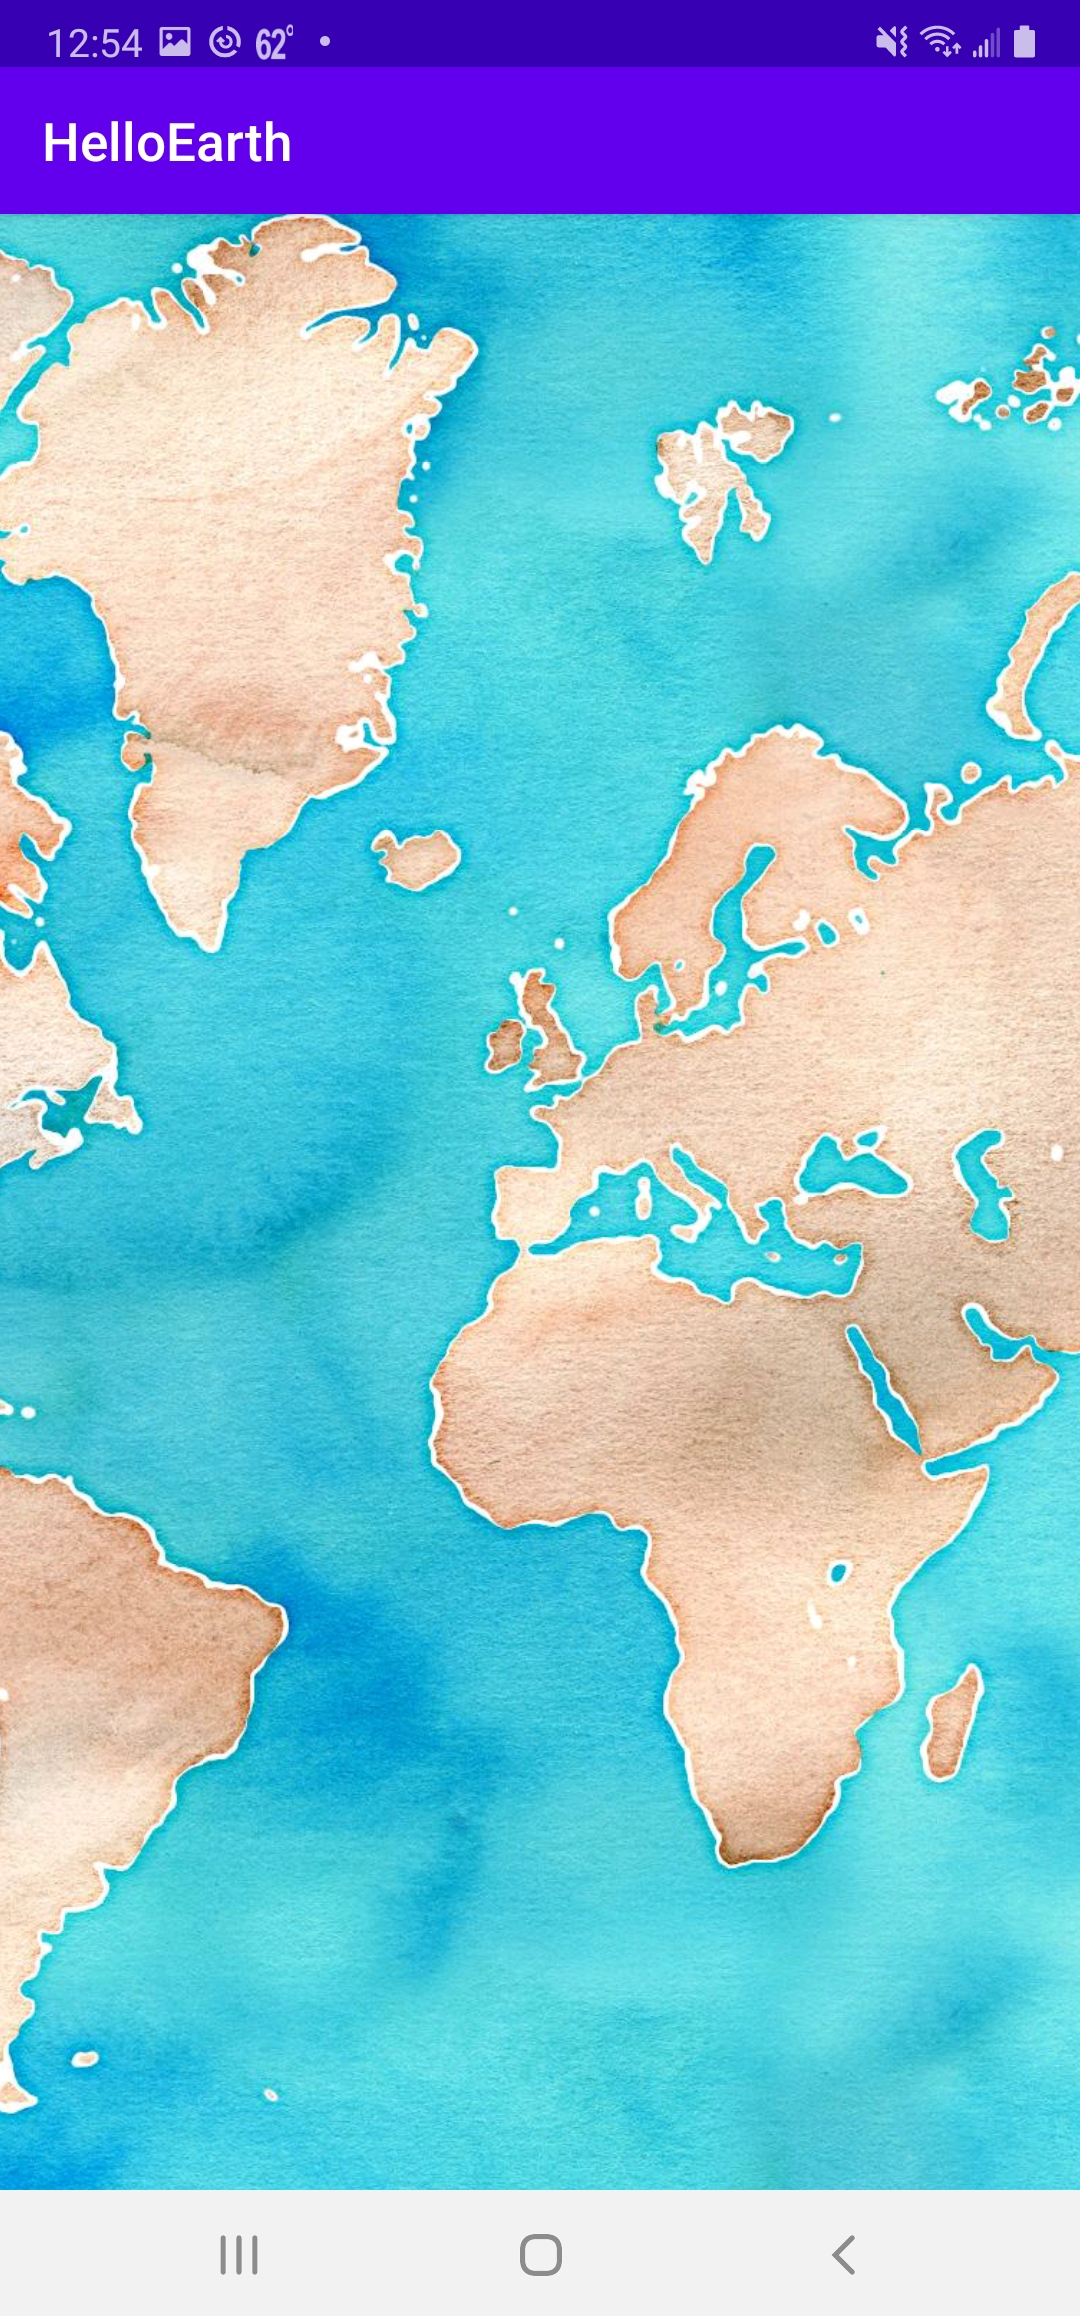
That’s it! You can now build and run HelloGlobe. An interactive globe with a Stamen Watercolor base layer should appear.

Create a Map Fragment
It is a very similar process creating a map instead of a globe.
Setup HelloMapFragment
Create another new class, HelloMapFragment, replacing it with the following code:
package com.mousebirdconsulting.helloearth;

import android.os.Bundle;
import android.view.LayoutInflater;
import android.view.View;
import android.view.ViewGroup;

import com.mousebird.maply.GlobeMapFragment;
import com.mousebird.maply.QuadImageLoader;
import com.mousebird.maply.RemoteTileInfoNew;
import com.mousebird.maply.RenderController;
import com.mousebird.maply.SamplingParams;
import com.mousebird.maply.SphericalMercatorCoordSystem;

import java.io.File;

public class HelloMapFragment extends GlobeMapFragment {

    protected MapDisplayType chooseDisplayType() {
        return MapDisplayType.Map;
    }

    @Override
    public View onCreateView(LayoutInflater inflater, ViewGroup container,
                             Bundle inState) {
        super.onCreateView(inflater, container, inState);

        // Do app specific setup logic.

        return baseControl.getContentView();
    }

    @Override
    protected void controlHasStarted() {
        // Set up the local cache directory
        String cacheDirName = "stamen_watercolor6";
        File cacheDir = new File(getActivity().getCacheDir(), cacheDirName);
        cacheDir.mkdir();

        // Set up access to the tile images
        RemoteTileInfoNew tileInfo =
                new RemoteTileInfoNew("http://tile.stamen.com/watercolor/{z}/{x}/{y}.png",0, 18);
        tileInfo.cacheDir = cacheDir;

        // Set up the map parameters
        SamplingParams params = new SamplingParams();
        params.setCoordSystem(new SphericalMercatorCoordSystem());
        params.setCoverPoles(true);
        params.setEdgeMatching(true);
        params.setMinZoom(tileInfo.minZoom);
        params.setMaxZoom(tileInfo.maxZoom);
        params.setSingleLevel(true);

        // Set up an image loader, tying all the previous together.
        QuadImageLoader loader = new QuadImageLoader(params, tileInfo, baseControl);
        loader.setImageFormat(RenderController.ImageFormat.MaplyImageUShort565);

        // Go to a specific location with animation
        //
        // `globeControl` is the controller when using MapDisplayType.Globe
        // `mapControl` is the controller when using MapDisplayType.Map
        // `baseControl` refers to whichever of them is used.
        double latitude = 40.5023056 * Math.PI / 180;
        double longitude = -3.6704803 * Math.PI / 180;
        double zoom_earth_radius = 2.0;
        mapControl.animatePositionGeo(longitude, latitude, zoom_earth_radius, 1.0);
    }
}
You can download HelloMapFragment.java and place it directly in your project.
Notice that this fragment is almost exactly the same as HelloGlobeFragment.java. There are two differences:
chooseDisplayTypereturnsMapDisplayType.Mapinstead ofMapDisplayType.Globe.controlHasStartedusesmapControlinstead ofglobeControl.
Replace Activity XML with Map Fragment
In your activity_main.xml, comment out the HelloGlobeFragment and replace it with your new HelloMapFragment.
<?xml version="1.0" encoding="utf-8"?>
<androidx.constraintlayout.widget.ConstraintLayout xmlns:android="http://schemas.android.com/apk/res/android"
    xmlns:app="http://schemas.android.com/apk/res-auto"
    xmlns:tools="http://schemas.android.com/tools"
    android:id="@+id/relativeLayout"
    android:layout_width="match_parent"
    android:layout_height="match_parent"
    tools:context=".MainActivity">

    <fragment
        android:id="@+id/fragment"
        android:name="com.mousebirdconsulting.helloearth.HelloMapFragment"
        android:layout_width="match_parent"
        android:layout_height="match_parent"
        app:layout_constraintBottom_toTopOf="parent"
        app:layout_constraintEnd_toStartOf="parent"
        app:layout_constraintStart_toStartOf="parent"
        app:layout_constraintTop_toTopOf="parent" />

</androidx.constraintlayout.widget.ConstraintLayout>
With these changes, your app will now have a map instead of a globe. Go ahead and build and run. A map with a Stamen Watercolor base layer should appear.
Tutorial by Nicholas Hallahan, Steve Gifford, Tim Sylvester.