Cocoapods
CocoaPods is the dependency manager for Objective-C projects. It has thousands of libraries and can help you scale your projects elegantly. According to their web site, anyway. Sounds good to us.

For this tutorial you’ll need the HelloEarth project you created in the last one. Don’t run through the binary and source distribution tutorials. Cocoapods is an alternative to those.
WhirlyGlobe-Maply Pod
There is a pod in the central Cocoapods repo. It’s really old, so don’t use it. Instead, use the podpsec we provide.
Pods are pretty easy to use, which is kind of the point. If you haven’t installed the pod gem, go follow their instructions. You’ll need that software to do the rest of this.
Every project you use Cocoapods in is going to need a Podfile. Yours should look something like this.
platform :ios, '13.0'
install! 'cocoapods', :deterministic_uuids => false
project 'HelloEarth.xcodeproj'
inhibit_all_warnings!

target 'HelloEarth' do
        pod 'WhirlyGlobe', :git => 'https://github.com/mousebird/WhirlyGlobe.git', :branch => 'master'
end
Make sure you’ve closed the HelloEarth project in Xcode. The install process is going to mess with it.
The next step is to set up the dependencies with the podspec. You do that in the Terminal like so. Navigate to the directory containing your HelloEarth.xcodeproj.
% pod installIf all goes well it should say something like this.
Analyzing dependencies
Pre-downloading: `WhirlyGlobe` from `https://github.com/mousebird/WhirlyGlobe.git`, branch `master`
Downloading dependencies
Installing FMDB (2.7.5)
Installing KissXML (5.3.1)
Installing SMCalloutView (2.1.5)
Installing WhirlyGlobe (2.6.1)
Installing eigen (3.2.10)
Installing libjson (7.6.1)
Installing proj4 (4.8.0)
Generating Pods project
Integrating client project
We love our fellow open source projects. That’s why we include so many of them!
Soon we’ll compile. But one more thing first
Bridging Objective C to Swift
If you’re using Objective-C for your project, you can ignore this. Also welcome back from your coma!
You’re probably using Swift and the toolkit works well with it, but you have to do one more thing.
Open the HelloEarth workspace and create a new Objective C file. I call mine “Stub” because it’s not going to do anything. It doesn’t even matter what’s in it. The important bit is next.
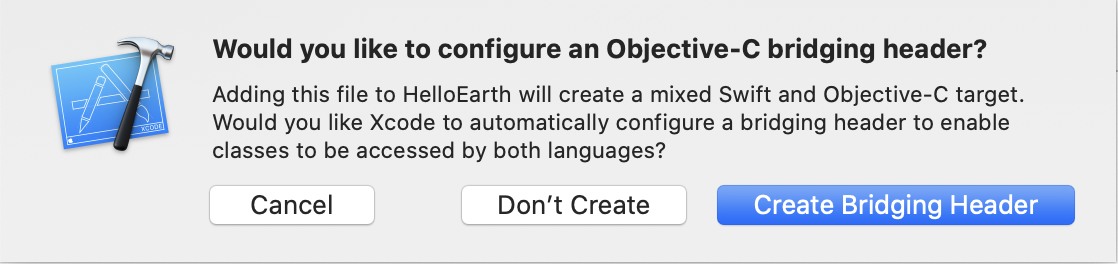
Xcode will prompt you to create a Create Bridging Header. Select that option.
Now open that header. It should be called HelloEarth-Bridging-Header.h. Add MaplyComponent like so.
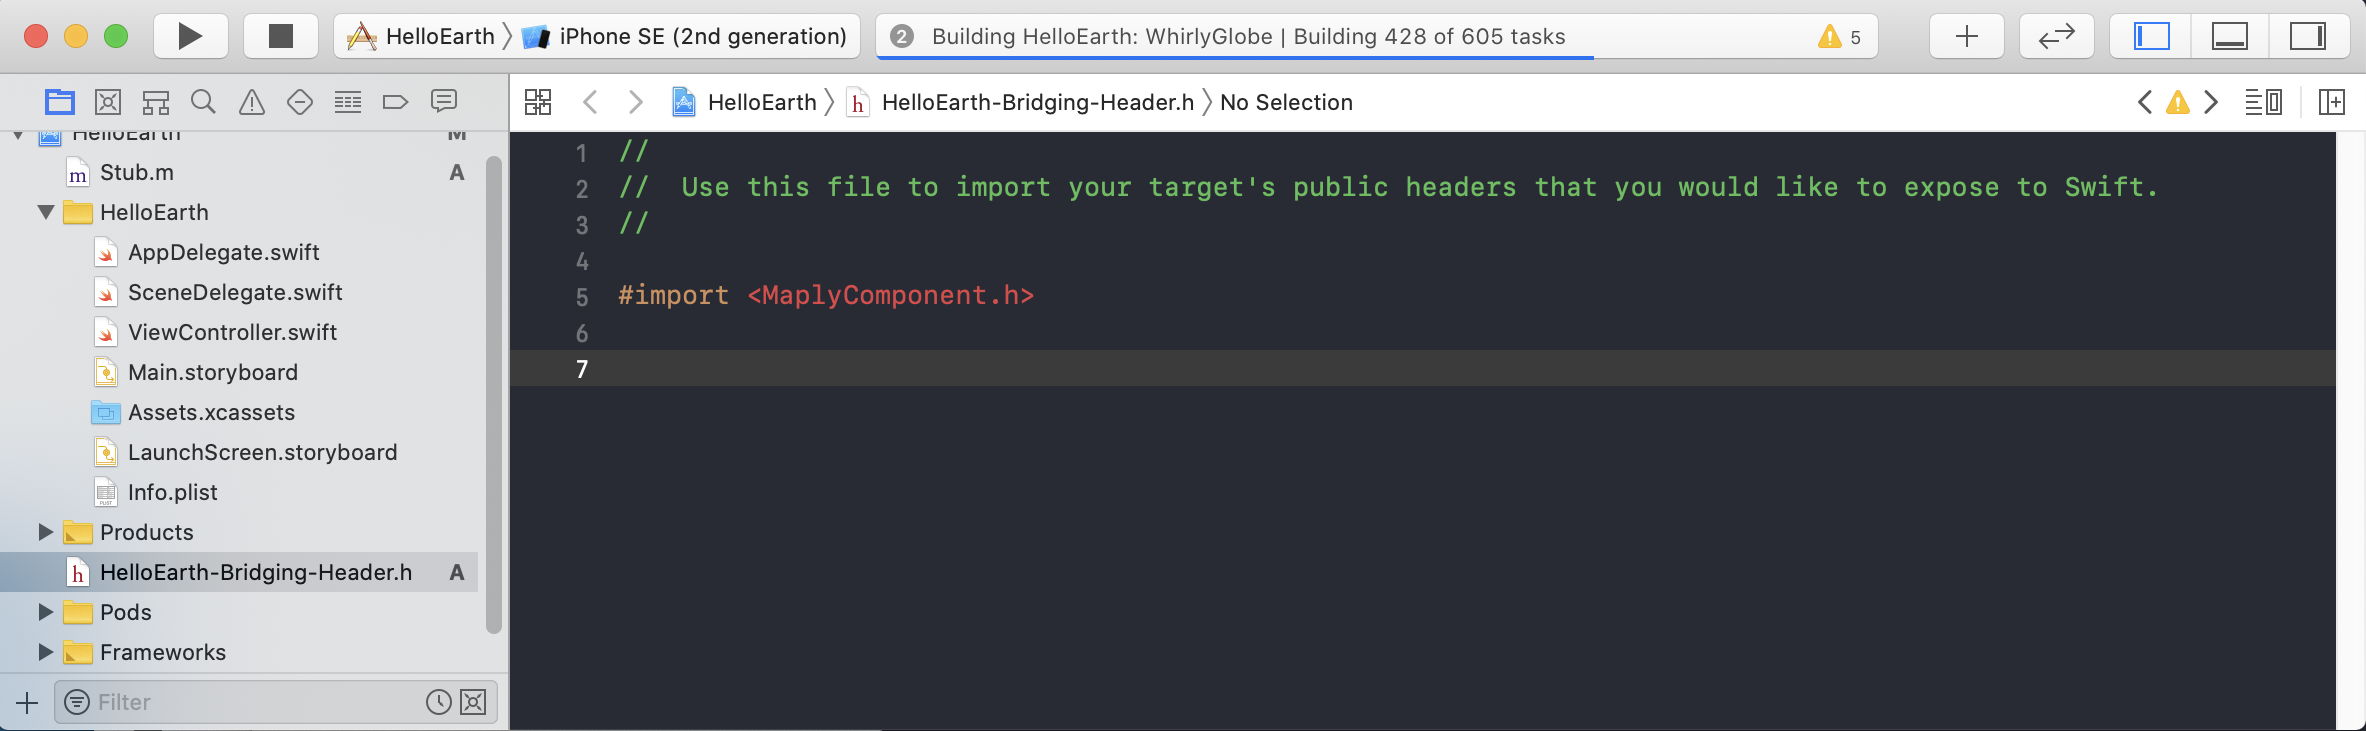
With that you should be ready to compile and use the toolkit in a Swift project.
Compiling With the Pod
You’ll need to load the HelloEarth workspace rather than the project. Cocoapods sets up its dependencies in there. If it fails to compile, odds are you opened the project. We do it all the time.
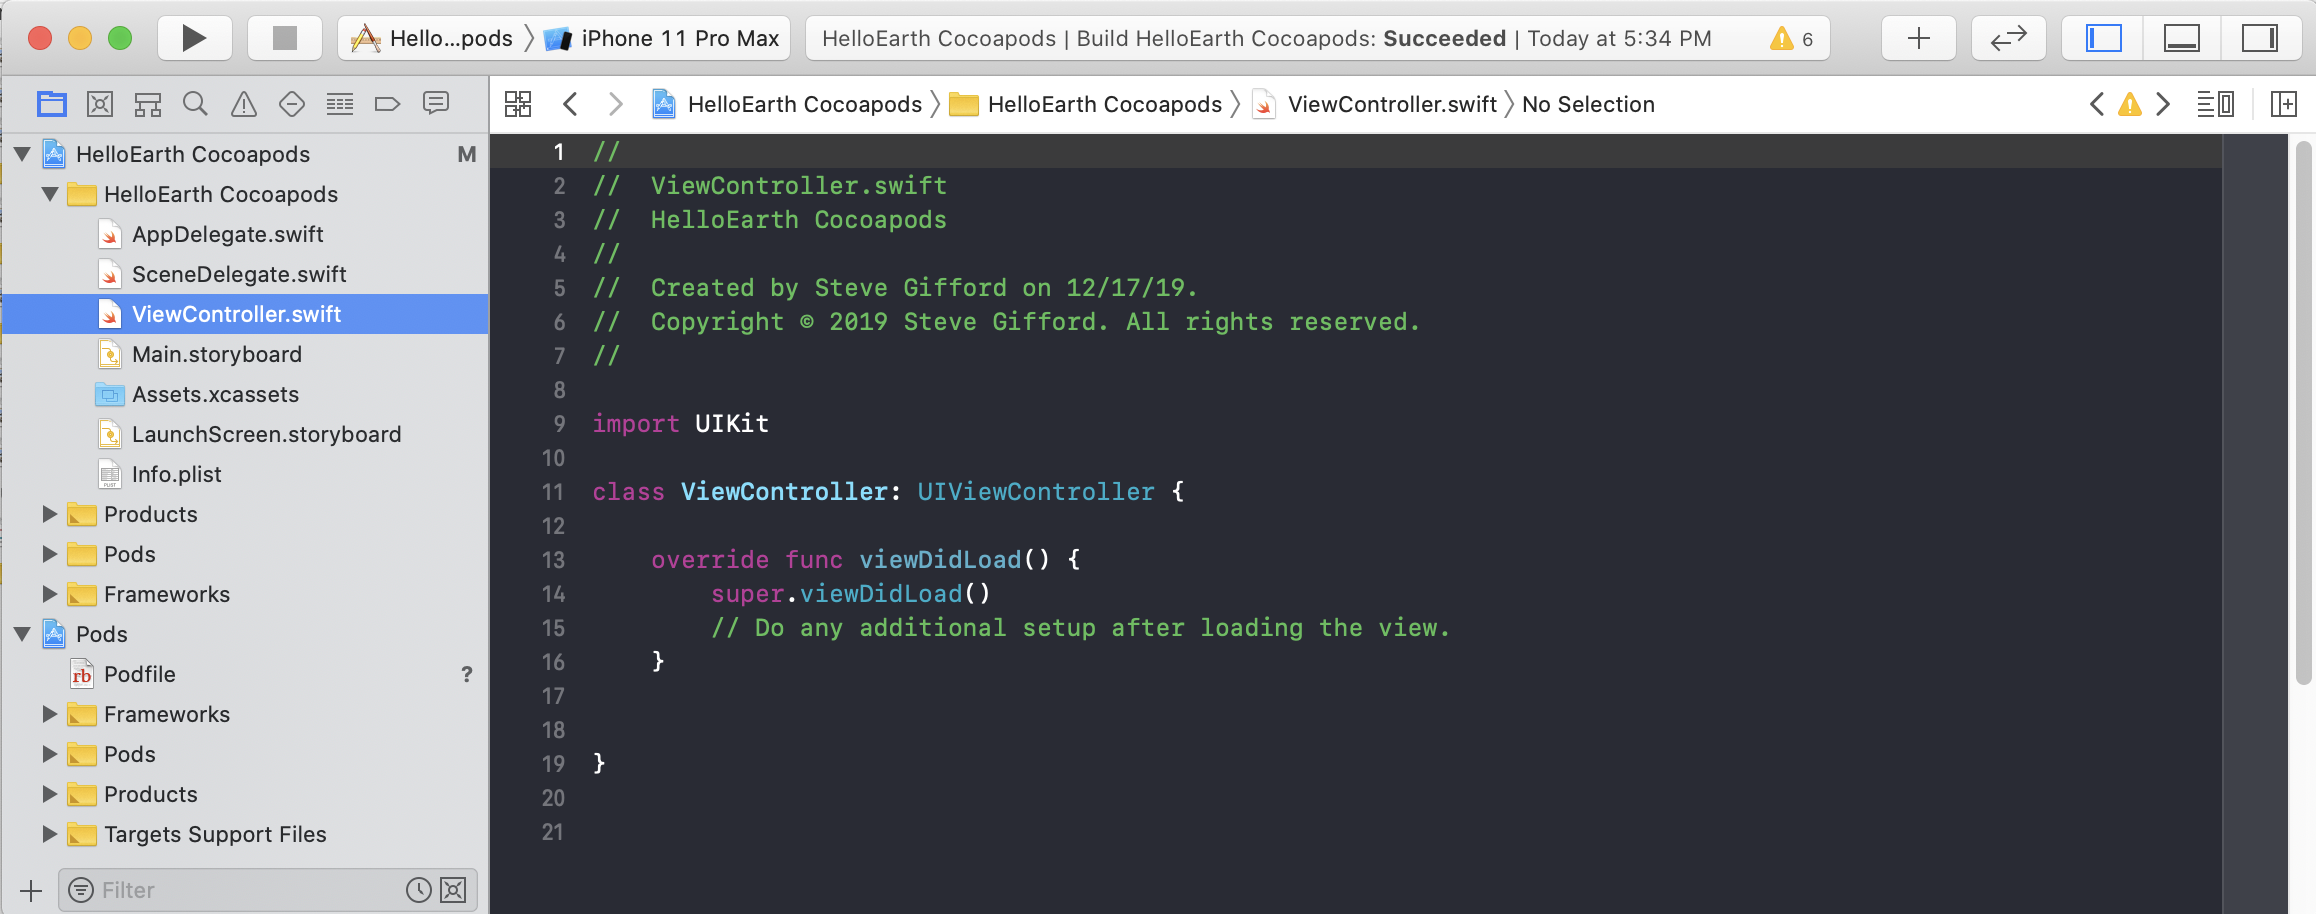
Just build it. It should scamper off and do the Cocoapods portion first, consisting of all those dependent projects. Then it’ll get to your code.
If it builds, you’re golden. All the source code you need is in there, including all the projects WhirlyGlobe-Maply uses. You can even check all this junk in. There’s a whole body of thought on that, which we won’t get into here.
Go forth and do the rest of the tutorials!