Local Image Layer
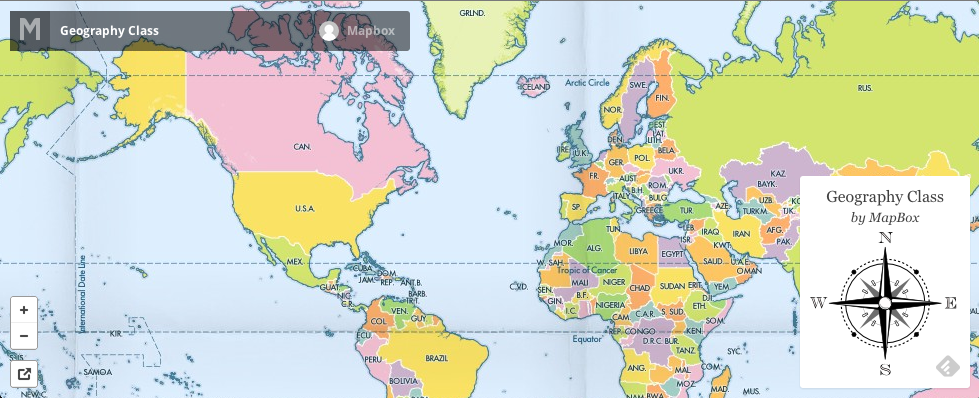
Despite your swelling pride, the blank screen is only so satisfying. Let’s add a visible layer. We’re going to use the Geography Class example from Mapbox and we’ll pull it locally, from device storage.
You’ll need to have done the globe or map tutorials, either is fine. Open your HelloEarth project and get ready.
If you haven’t got one here is a suitable ViewController for Swift file to start with. This version handles both a globe and a map and makes a nice starting point.
Geography Class MBTiles
We need the Geography Class MBTiles file from Mapbox. Luckily, you’ll can download the mbtiles file and add it to your project easily. (http://openstreetmap.org/)
First, download the MBTile file and save it into your projects directory.
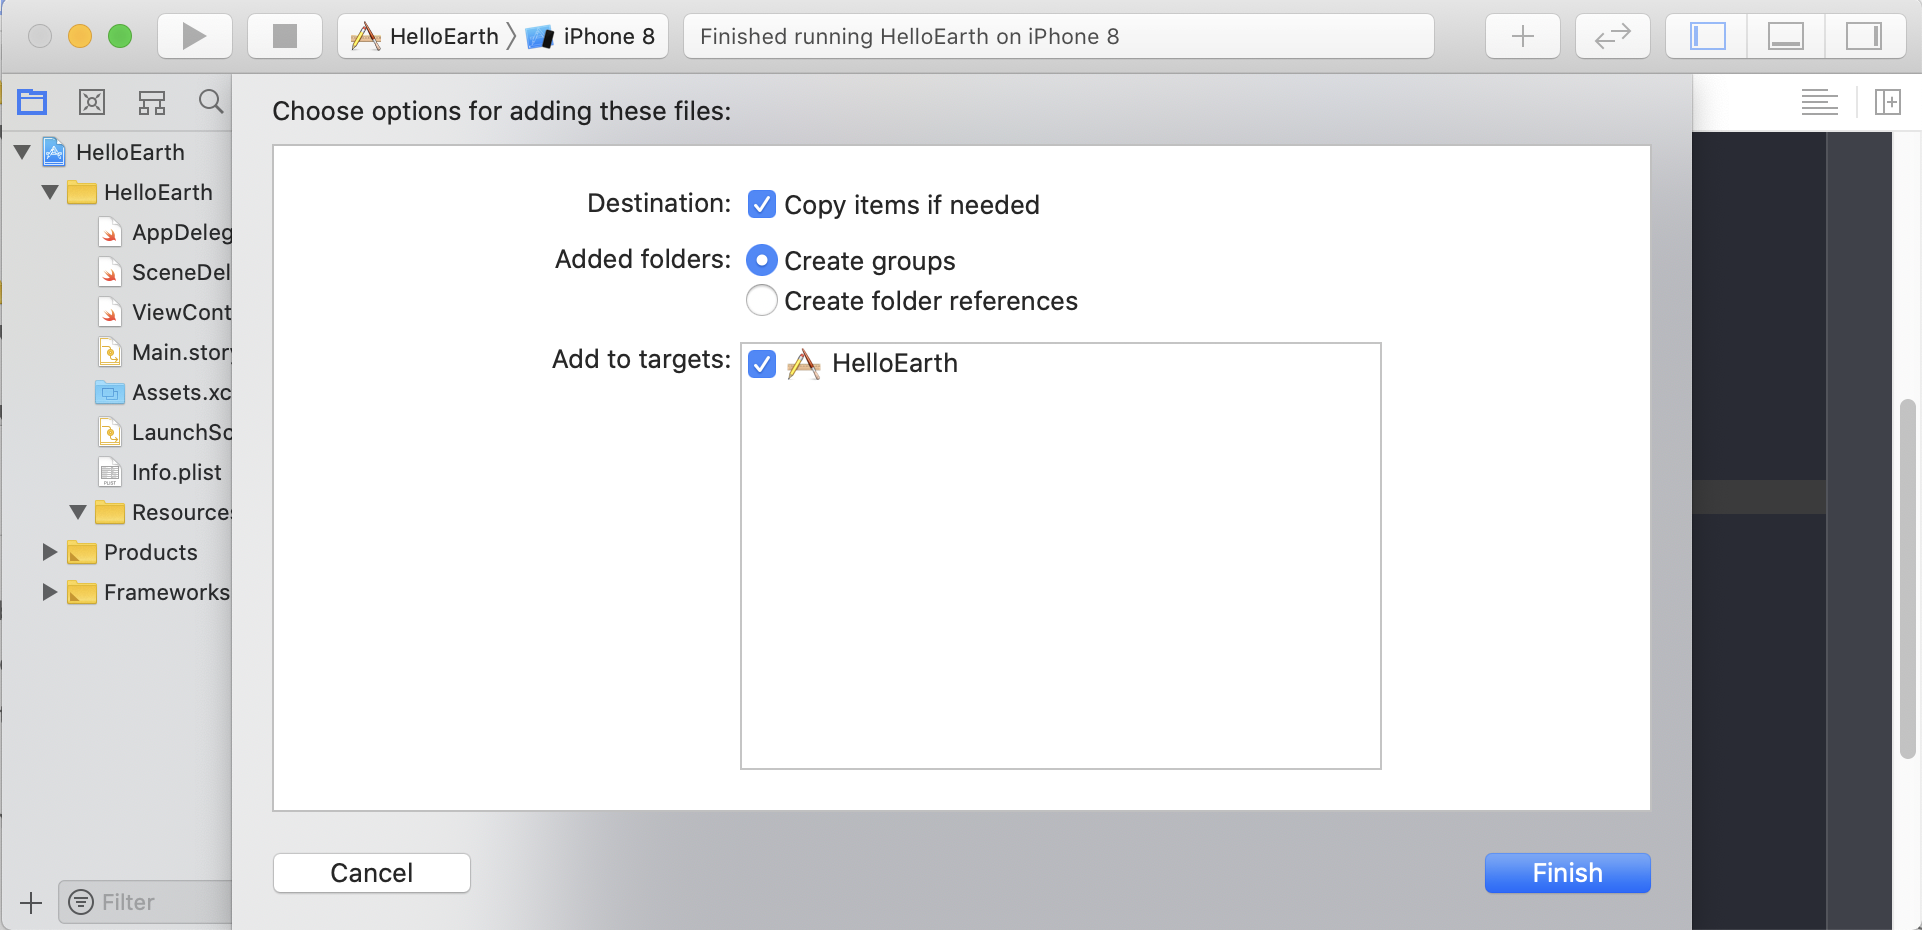
Add geographyclass_medres.mbtiles to your project by dragging it into HelloEarth in your Project Navigator view. You can create a Resources folder there if you like, but it’s not necessary. The same goes for ‘Copy items into the destination group’s folder’ – if you want your project to have its own copy of the file, check that box. What you must do, however is check the ‘Add to targets’ box for HelloEarth, to ensure that the data is packaged with your app when it is built.
That will get the MBTiles file into the bundle. Next, we display it.
Adding a Layer
If you worked through the globe or the map example, you’ll need to add this little bit of code to your viewDidLoad method. This will make the examples work with either globe or map. If you’re using the ViewController file from above, you don’t need it.
-
let globeViewC = theViewC as? WhirlyGlobeViewController let mapViewC = theViewC as? MaplyViewController -
  // this logic makes it work for either globe or map
  WhirlyGlobeViewController *globeViewC = nil;
  MaplyViewController *mapViewC = nil;
  if ([theViewC isKindOfClass:[WhirlyGlobeViewController class]])
      globeViewC = (WhirlyGlobeViewController *)theViewC;
  else
      mapViewC = (MaplyViewController *)theViewC;
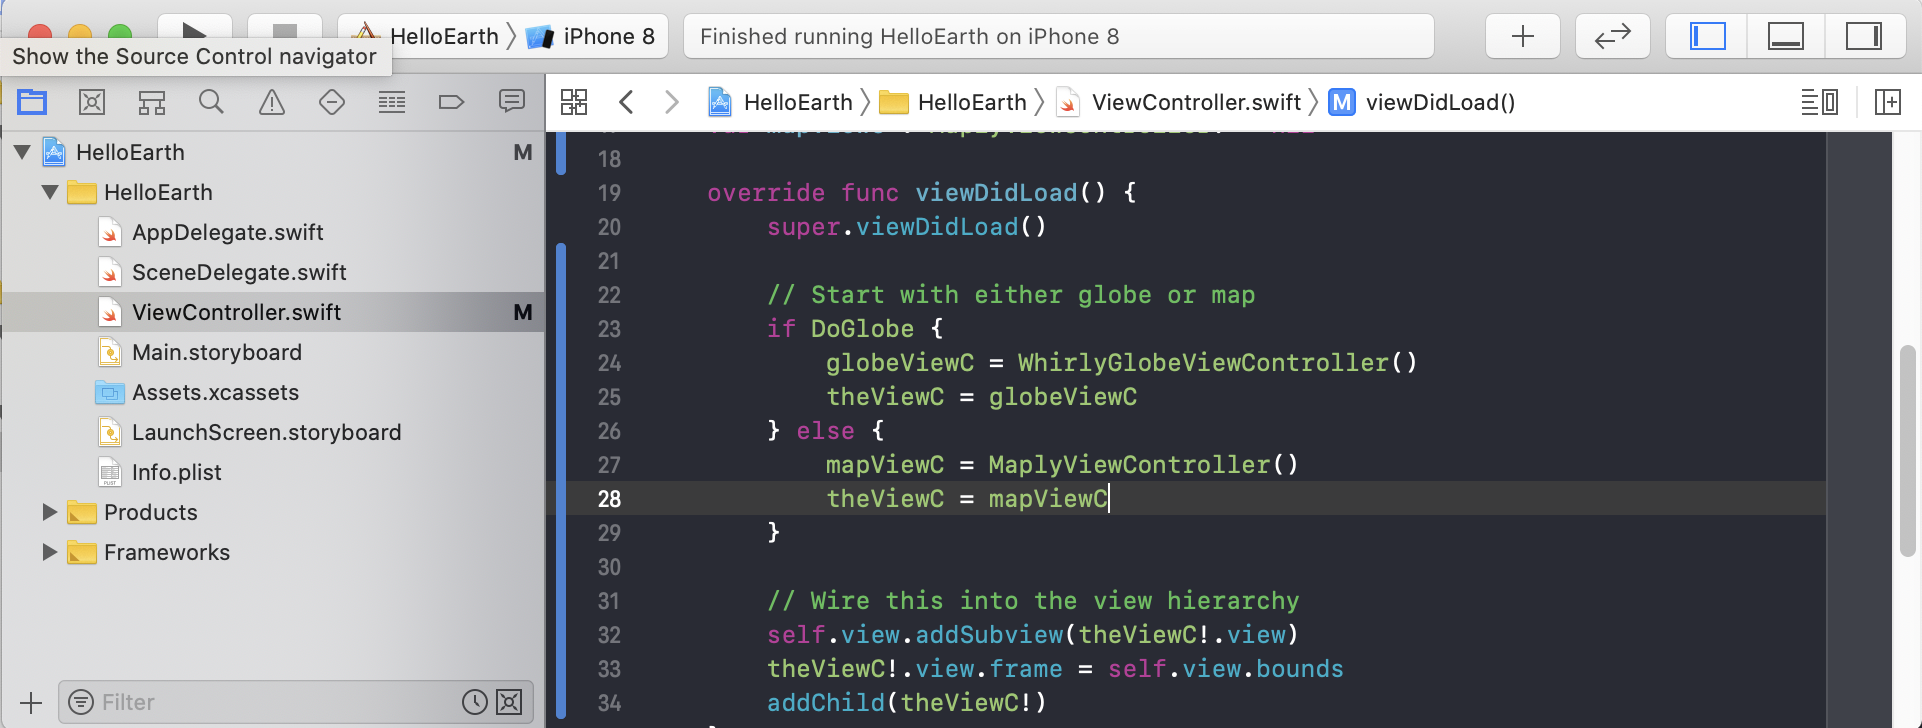
Now, add these declarations to your ViewController.
-
var mbTilesFetcher : MaplyMBTileFetcher? = nil var imageLoader : MaplyQuadImageLoader? = nil -
    // These go well in your @implementation block
    MaplyMBTileFetcher *mbTilesFetcher;
    MaplyQuadImageLoader *imageLoader;
To open the MBTiles database, create the loader and add it to the globe or map, add these changes go in the viewDidLoad method.
-
let globeViewC = theViewC as? WhirlyGlobeViewController let mapViewC = theViewC as? MaplyViewController // we want a black background for a globe, a white background for a map. theViewC!.clearColor = (globeViewC != nil) ? UIColor.black : UIColor.white // and 30 frames per second theViewC!.frameInterval = 2 // Set up an MBTiles file and read the header mbTilesFetcher = MaplyMBTileFetcher(mbTiles: "geography-class_medres") // Sampling parameters define how we break down the globe let sampleParams = MaplySamplingParams() sampleParams.coordSys = mbTilesFetcher!.coordSys() sampleParams.coverPoles = true sampleParams.edgeMatching = true sampleParams.minZoom = mbTilesFetcher!.minZoom() sampleParams.maxZoom = mbTilesFetcher!.maxZoom() sampleParams.singleLevel = true // The Image Loader does the actual work imageLoader = MaplyQuadImageLoader(params: sampleParams, tileInfo: mbTilesFetcher!.tileInfo(), viewC: theViewC!) imageLoader!.setTileFetcher(mbTilesFetcher!) imageLoader!.baseDrawPriority = kMaplyImageLayerDrawPriorityDefault // start up over Madrid, center of the old-world if let globeViewC = globeViewC { globeViewC.height = 0.8 globeViewC.animate(toPosition: MaplyCoordinateMakeWithDegrees(-3.6704, 40.5023), time: 1.0) } else if let mapViewC = mapViewC { mapViewC.height = 1.0 mapViewC.animate(toPosition: MaplyCoordinateMakeWithDegrees(-3.6704, 40.5023), time: 1.0) } -
// we want a black background for a globe, a white background for a map. theViewC.clearColor = (globeViewC != nil) ? [UIColor blackColor] : [UIColor whiteColor]; // and thirty fps if we can get it change this to 3 if you find your app is struggling theViewC.frameInterval = 2; // Reads from the MBTiles file mbTilesFetcher = [[MaplyMBTileFetcher alloc] initWithMBTiles:@"geography-class_medres"]; if (!mbTilesFetcher) return; // Describes what the file covers and how deep MaplySamplingParams *sampleParams = [[MaplySamplingParams alloc] init]; sampleParams.coordSys = mbTilesFetcher.coordSys; sampleParams.coverPoles = true; sampleParams.edgeMatching = true; sampleParams.minZoom = mbTilesFetcher.minZoom; sampleParams.maxZoom = mbTilesFetcher.maxZoom; sampleParams.singleLevel = true; // Actually loads the images imageLoader = [[MaplyQuadImageLoader alloc] initWithParams:sampleParams tileInfo:mbTilesFetcher.tileInfo viewC:theViewC]; [imageLoader setTileFetcher:mbTilesFetcher]; imageLoader.baseDrawPriority = kMaplyImageLayerDrawPriorityDefault; // start up over San Francisco, center of the universe if (globeViewC != nil) { globeViewC.height = 0.8; [globeViewC animateToPosition:MaplyCoordinateMakeWithDegrees(-122.4192,37.7793) time:1.0]; } else { mapViewC.height = 1.0; [mapViewC animateToPosition:MaplyCoordinateMakeWithDegrees(-122.4192,37.7793) time:1.0]; }
Now, when you run HelloEarth, you should see a colorful set of countries looking back at you.
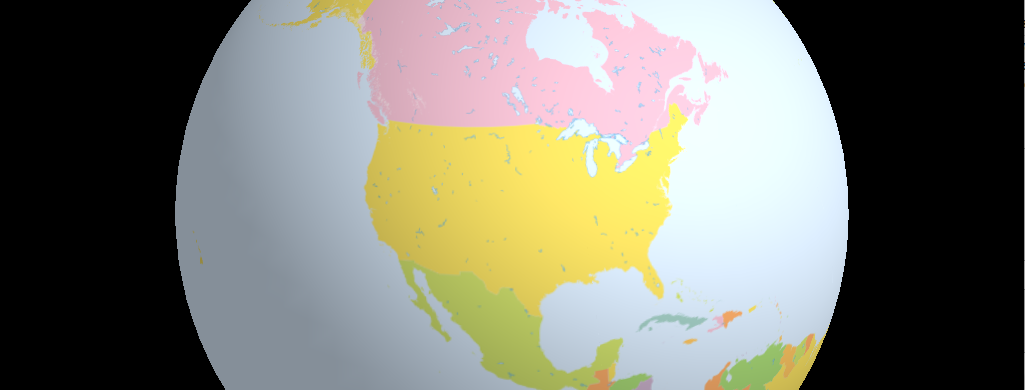
If you’re doing a map it’ll look like that. Only, you know, flat.
Deeper Dive
You might notice there were three interesting objects there: MaplySamplingParams, MaplyQuadImageLoader, and the MaplyMBTileFetcher.
Loading image and vector tiles is the most common (and complex) thing WG-Maply does and we’ve got it all pretty well abstracted. The data fetching is separate from the parsing which is separate from the display.
In this case, we start with a MaplyMBTileFetcher which knows how to read Mapbox Tiles files (sqlite with a bit of extra structure). There’s an image pyramid in that file which we’ll pull out as needed.
To tell WG-Maply how to do that, we set up a MaplySamplingParams, instructing it what the coordinate system is (probably Spherical Mercator) and how many levels are in the data. We also tell it if we’d like coverage over the poles, which only makes sense for the globe, and if we’d like edge matching between tiles. We usually do.
We also want it to try to display only a single level of detail. Now it will always display the lowest level, so you have something to look at. But this ensures we don’t load anything between that level and the one we ought to see.
Then we set up the object that does all the work, a MaplyQuadImageLoader. This takes the the MBTiles fetcher, the sampling parameters and starts fetching data. You can call its shutdown() method to make it stop.
There’s a lot more to the MaplyQuadImageLoader and its siblings: The MaplyQuadPagingLoader and the MaplyQuadImageFrameLoader. But for now, we’re starting simple. Browse through the documentation and you’ll see a lot more.
Next up, an image layer you page over the network.